
Working on vehicles is dangerous. Mechanics are trained in how to do it safely. If you choose to work on your own vehicle, DO SO AT YOUR OWN RISK. This page is simply an account for how my experience went.
1988 Golf Engine Cleaning and Drop In
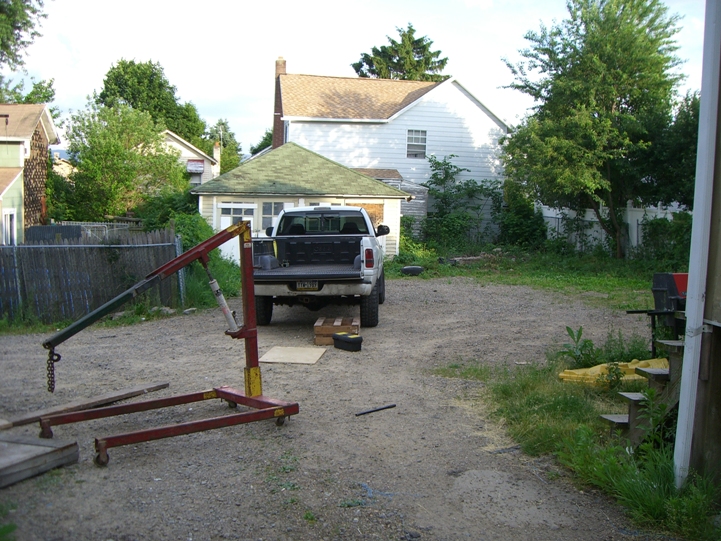
So that was my truck, a 2001 dodge ram 318 auto. Unfortunately the previous owner had installed a lot of junk parts on it and it was literally falling apart. Gas was also killing me. So I bought a 1988 VW Golf diesel, only I first bought the car and later bought the engine for it. The guy who sold me the car had the original 1.6l naturally aspirated diesel but it was not in the car as he had installed a 1.9l turbo diesel but he was using that engine for another project... you see where this is going. So I towed the car back one week and on my next paycheck I went to pick up the engine. I left the car at my friend Verrant's place cause he had a garage with a concrete floor. I worked on it, mostly just cleaned and painted the engine bay.
Here is the 1.6l diesel. I'm moving it into my basement to work on it. The previous owner used it as a giant step for his cats so It was filthy.
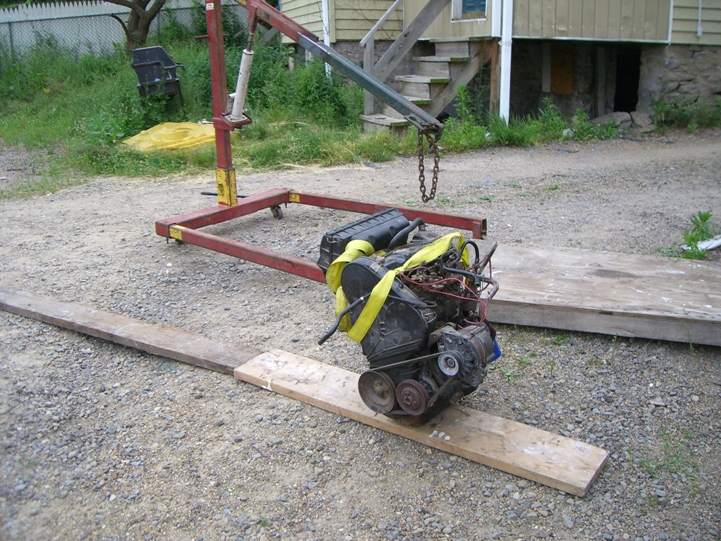
Myself and two friends rented this house for the summer and unfortunately there was no easy way to get the engine into the basement.
I should join Ringling bro's circus with my new balancing act!
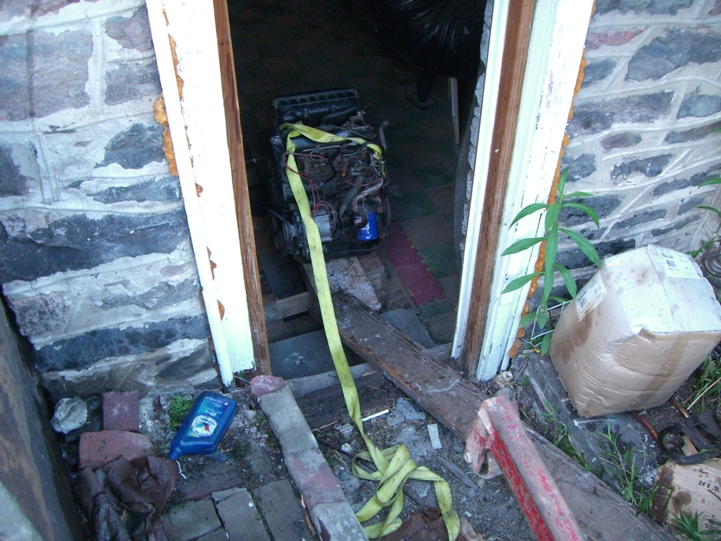
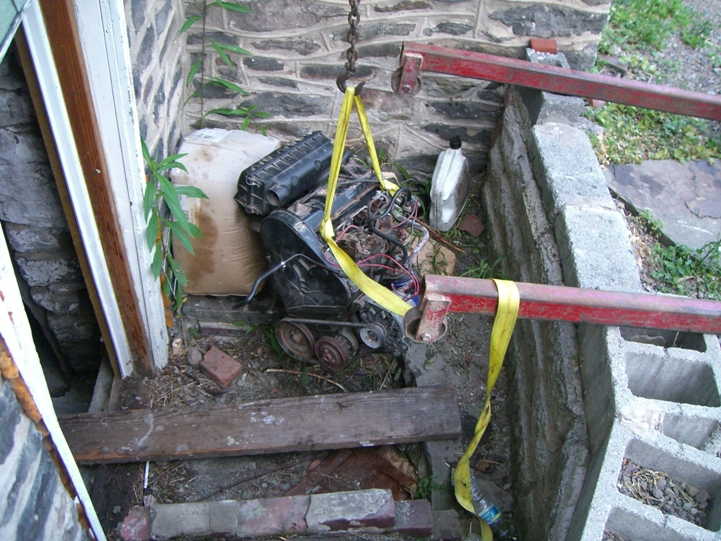
Finally got it in and shimmied down the plank.

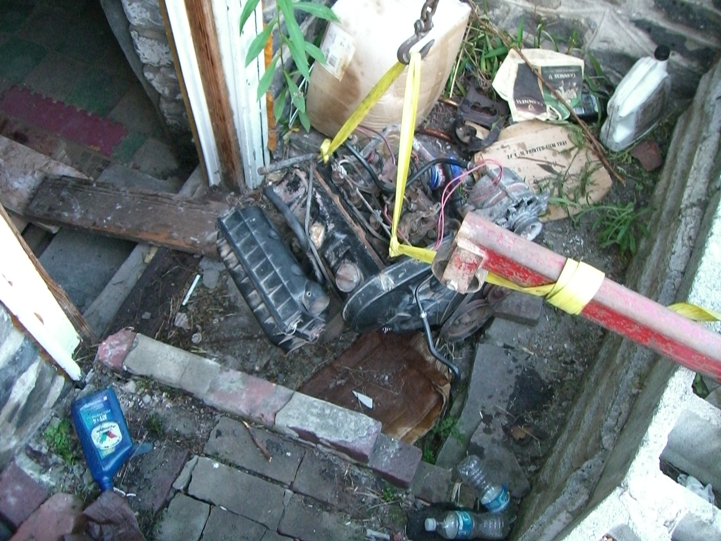
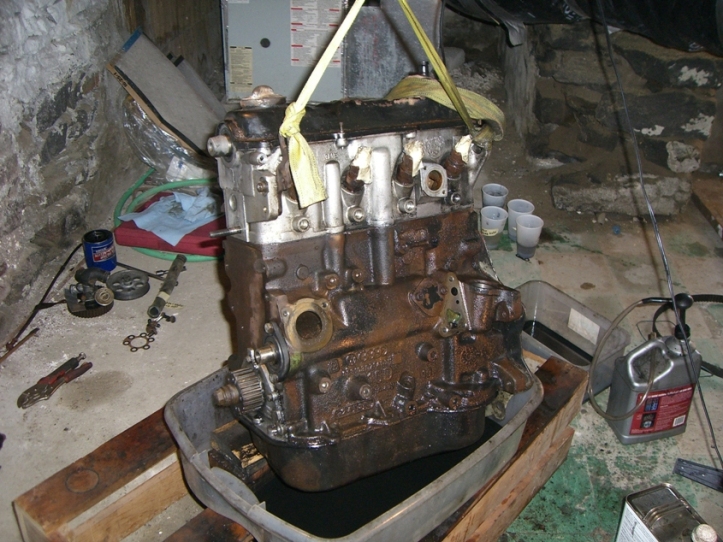
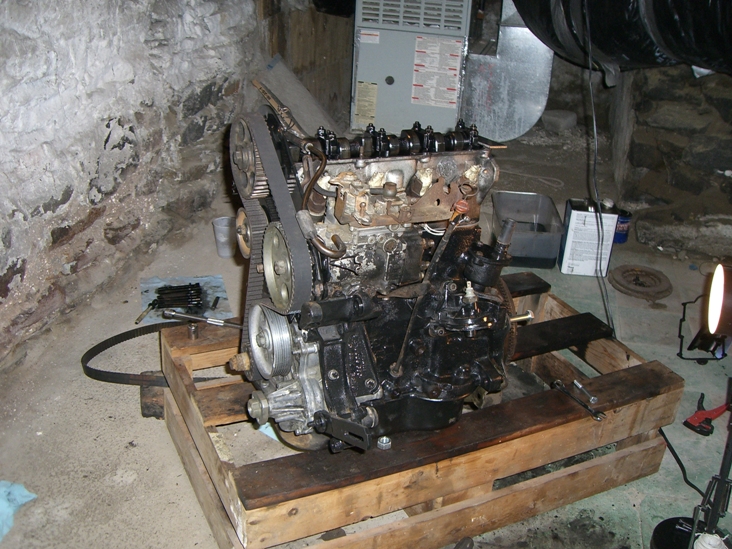
I set the engine on an old crate to tear it down and clean parts. As you can already see, its in sorry shape.
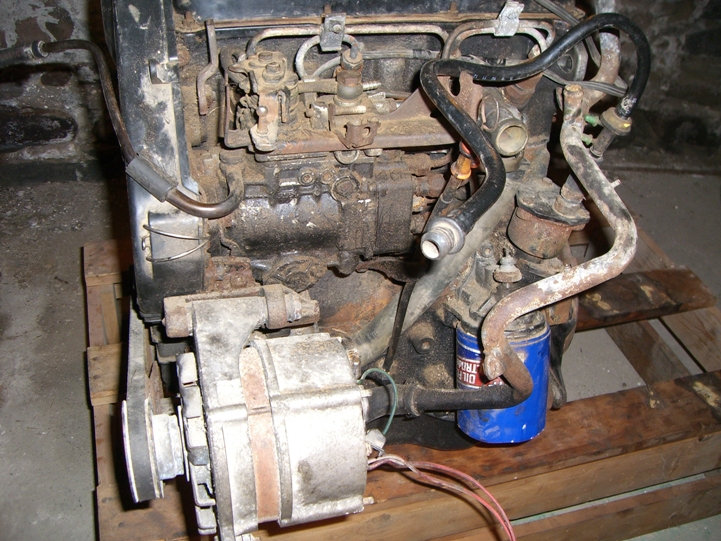
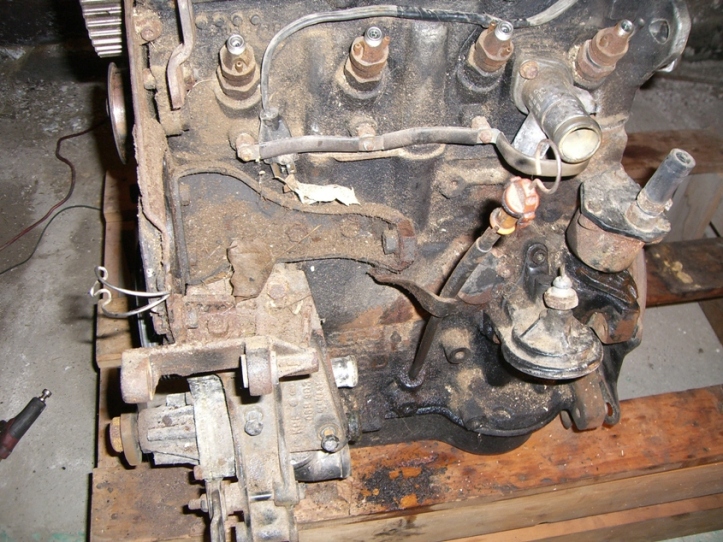
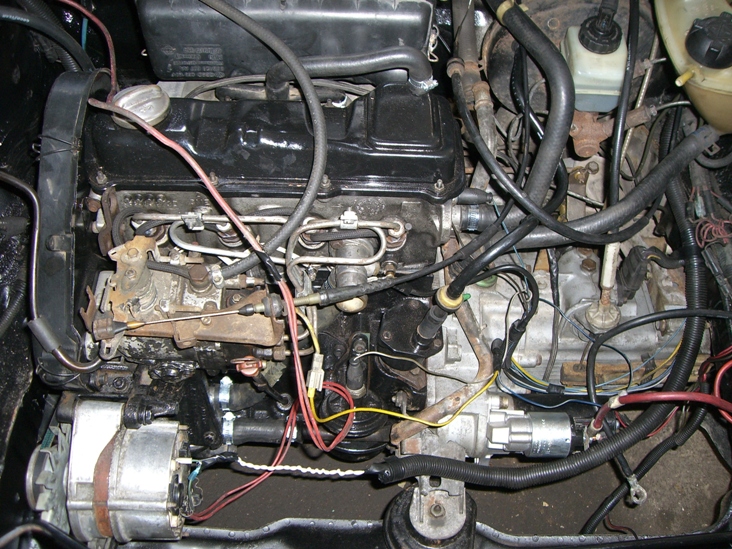
A side shot. There was maybe 9 wires used to control the entire engine. The injection pump is all mechanical time advance. The car mostly measures temperature and pressure of different components and relays this information to the driver.

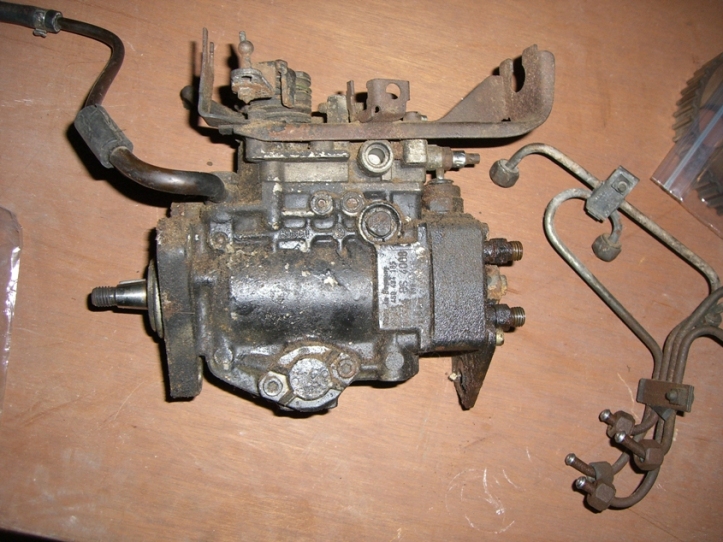
A close-up of the injection pump. I had to order more fuel tubing as most of the injectors were missing theirs. The tubing I am talking about is the return line. It's similar in construction to a Chinese finger trap. This helps it stay connected even though the return only operates around 50psi. The main lines are aluminum and are built for very high pressure!

Notice the pressure plate at the rear. This engine has the pressure plate mount directly to the crankshaft and the flywheel bolts directly to the pressure plate and sandwiches the clutch against the pressure plate. I ordered a new pressure plate as this one was toast!

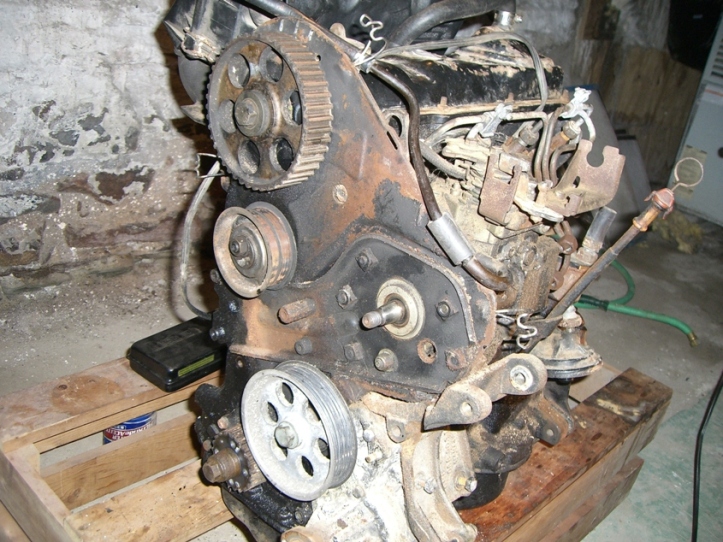
I decided to start by removing all the pieces from the front of the engine. The under drive pulleys came first. I left the alternator pulley attached and just removed the two bolts holding it in. The alternator has a hinging bracket that swings in order to put tension on the belt.

It begins! All the timing for this engine depends on this belt. Since I didn't know how old it was I decided to replace it. The top pulley drives the camshaft, the bottom the crankshaft, the upper right one the injection pump, lower right drives the vacuum pump and left is the idler. The idler pulley has those two holes for a special tool that rotates it about the bolt to add tension to the belt. The timing mark for this engine is located on the flywheel and aligns with a mark on the transmission (to indicated TDC on piston 1). But my engine did not come with a flywheel so once I removed this belt I would have to tear the engine down to a short block to be able to time it. This is an interference engine. In order for the valves not to hit the piston, each piston has to be within 0.001" of TDC on the compression stroke.

The vacuum pump is the small cylinder with the triangular top North East of the oil filter. It provides a vacuum for the break booster. They are very rare. I was fortunate to have a non broken one on my engine!
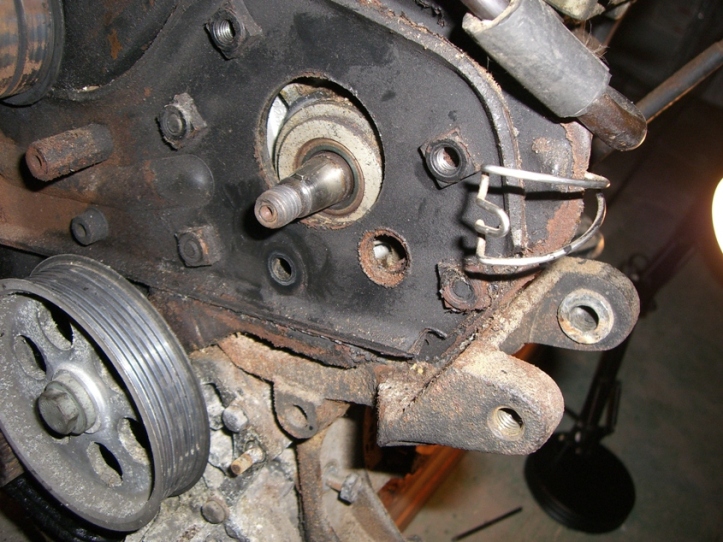
Took the injection pump pulley off. The injection pump has a tapered shaft with a keyway.
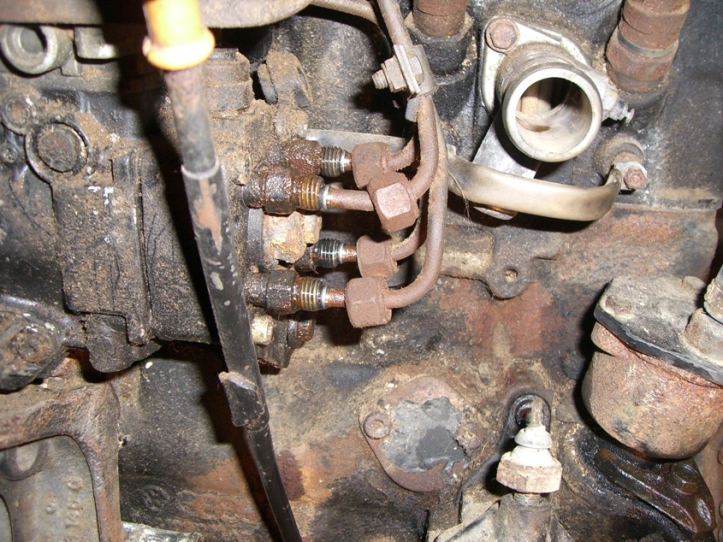
Removing the injection pump lines. This must be done slowly and carefully as the lines may be under very high pressure with diesel fuel.

With a little cleaning they will look good as new.
The injection pump has three bolts that hold it to the faceplate and a few more that secure it to the block.
Injection pump completely removed.
The block is starting to look a little sparse with many pieces missing.
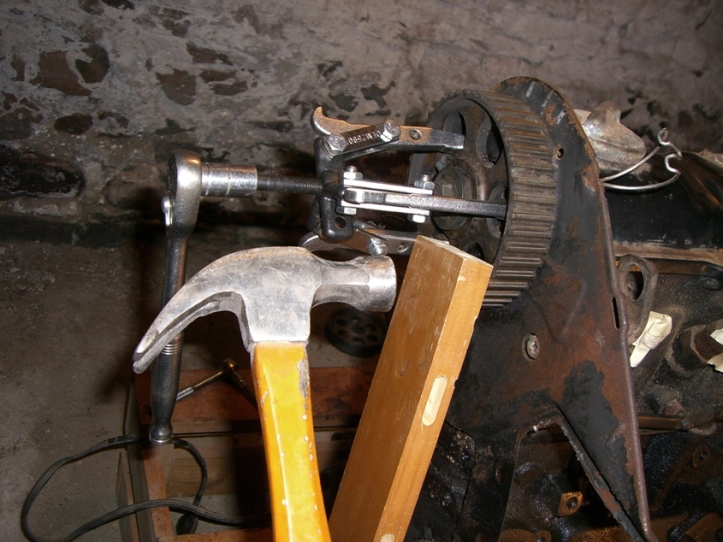
The camshaft pulley was a little stubborn but a solid tap from a hammer through a block of wood (so as not to damage the pulley) knocked it loose from its tapered shaft. The camshaft also has a keyway but not key for the pulley. This is done for two reasons; the keyway was used in the manufacturing process of the camshaft and second it allows the camshaft timing to be changed by loosening the bolt securing the pulley and then rotating the pulley left or right and then retightening.

It's time to clean the block but first I decided to check the condition of the lobes.

Looks pretty good to me. No scratches or wear marks in any of the lobes. All the lobes maintained their machined surfaces.

A bunch of cleaned and painted parts. For the under drive pulleys I cleaned off the large rust and then painted over the minor surface rust.
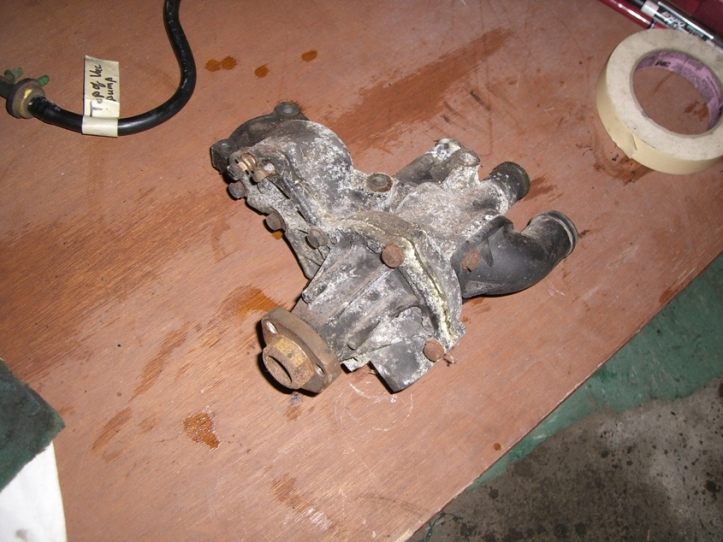
Water pump. The bottom black plastic piece was cracked so that got replaced. Other than that the impeller was in good shape. The whole pump just needed a cleaning.
I finally got down to cleaning the engine. I mostly used some engine degreaser, scotch pads, and brushes. Now you can see the aluminum alloy head!

Painting the block. I only painted the front as that was the part most visible thought looking back I should have painted the entire thing. It didn't take very long with all the parts removed.

Got the head off. I had a new head gasket to replace the old one, though the old one looked pretty recent.
There was a little rust in some of the cylinders but it was superficial. A little penetrating oil and a couple of turns of the crankshaft solved everything. The machined surface of the cylinders remained clean and was not in any way pitted or damaged.

The crack between the valves is common and nothing to worry about if it is small. In this picture it looks significant but that is just my camera. The crack was literally the width of a couple hairs. I cleaned the head thoroughly before reinstalling it on the engine.

The head is secured with these 10 bolts which require a triple square tool to remove.

It was time to reassemble the engine. I used the run-out method to set piston 1 to top dead center with a dial indicator. It was very easy to get within a fraction of 0.001" of TDC.
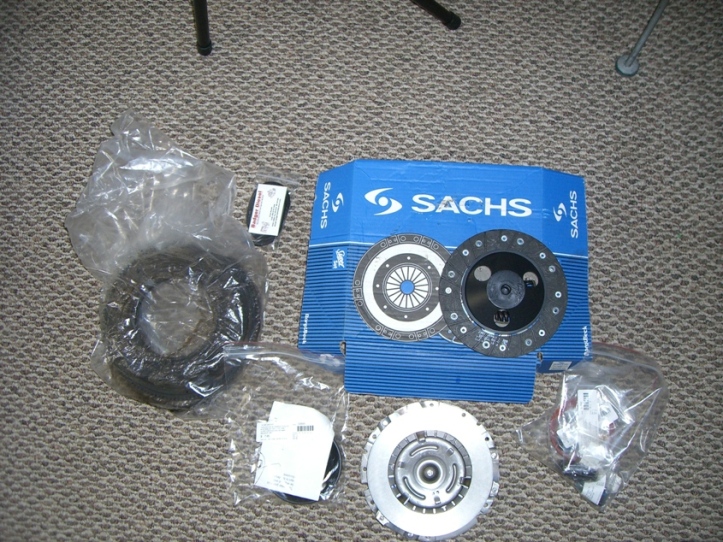
New clutch, pressure plate, bolts, return fuel line, and a good used flywheel.
I cleaned and painted nearly everything I took off of the engine.
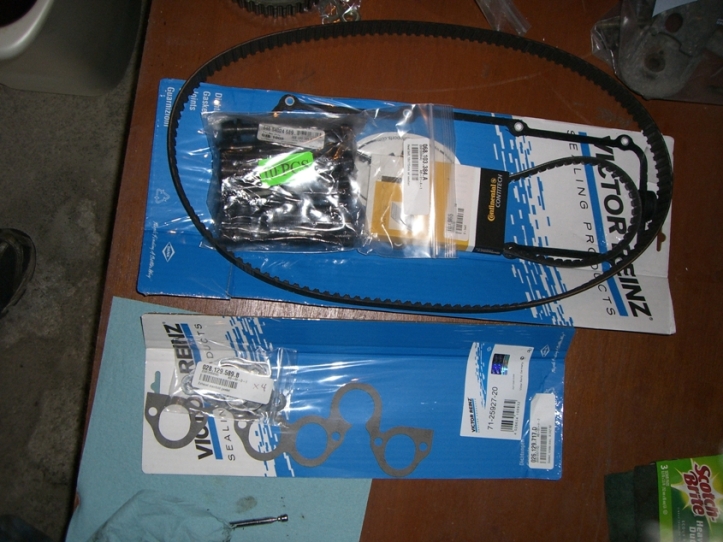
More new parts. I replaced the head bolts as they are one time use. The threads give a little as they are being torqued down and as such they cannot be reliably used a second time (though I have a feeling you could get away with reusing them if you were desperate).

While it was easy to get to I replaced the rear main seal. A with a flathead I pried it out from the crankshaft taking care not to scratch the crank shaft.
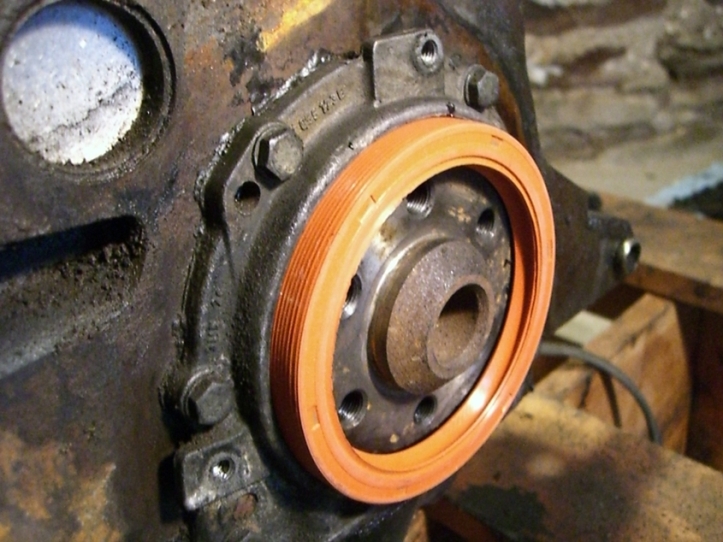
The new rear main seal ready to be pressed in. It took very little force to get it installed.

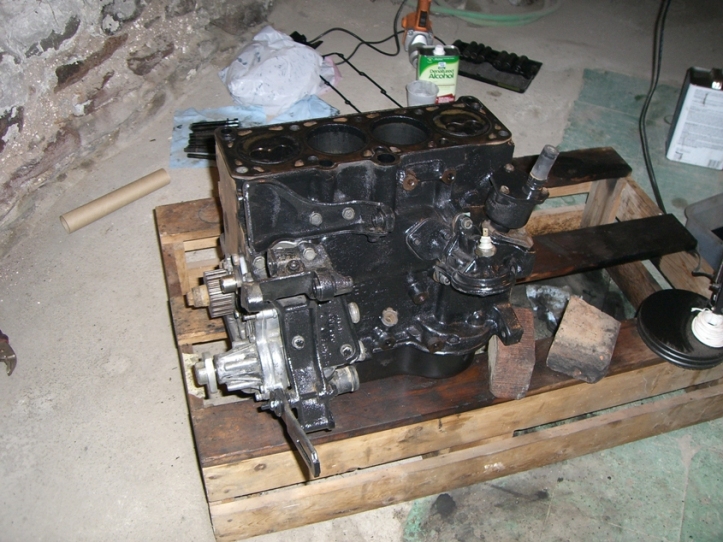
The short block is starting to look good!

With the flywheel and clutch installed.
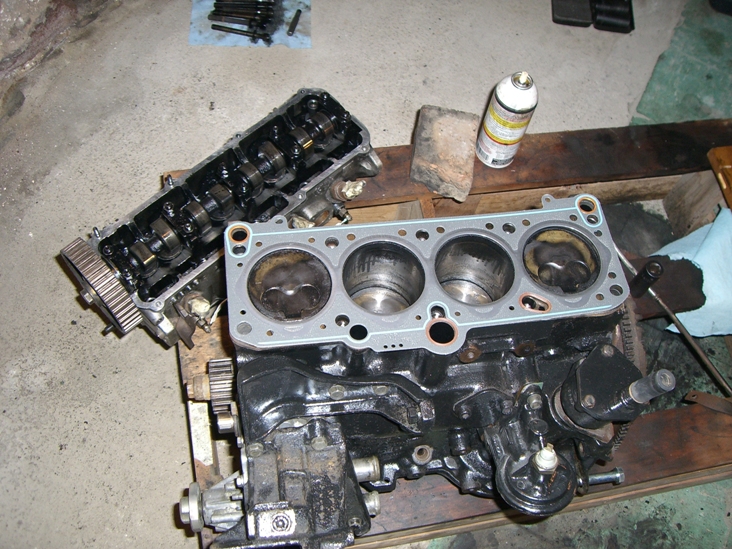
With a new head gasket and piston 1 at TDC, I was ready to install the head. Notice that piston 4 is also at TDC. This engine fires 1+4 and then 2+3. Piston 1 is the closest piston to the front of the engine.
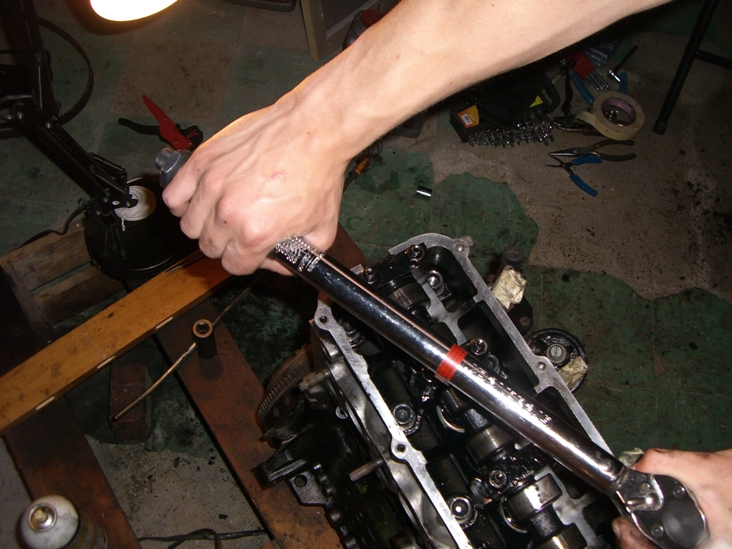
Torquing the head bolts down in a sequential pattern.

Some of the front brackets now mounted.

There are two ways to set the injection pump timing. The rough setting is done by aligning the keyway of the shaft to the timing mark on the larger face plate. The fine tuning is done with the use of a special dial indicator at the rear of the pump. For a pump that has not been rebuilt or worked correctly to begin with, using the rough setting is adequate.
The engine is starting to come together. The camshaft timing was finally set by inserting a straight piece of steel into a slot at the end of it.
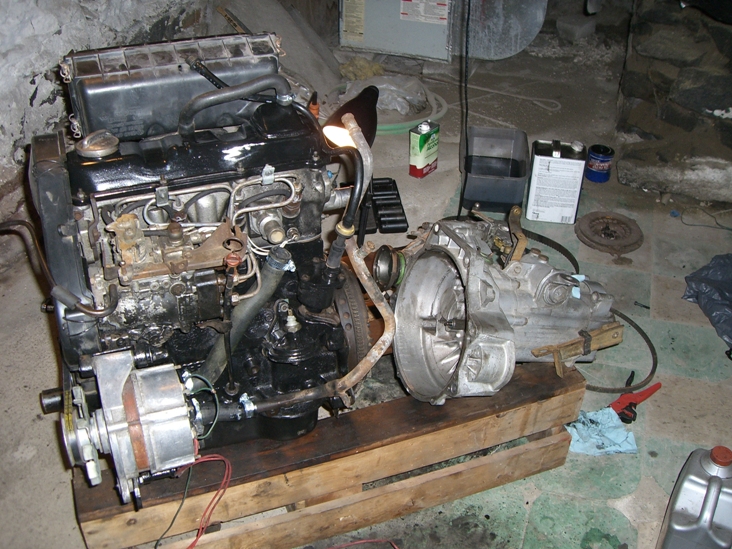
The completed engine! time to mate it to the transmission and drop it in.
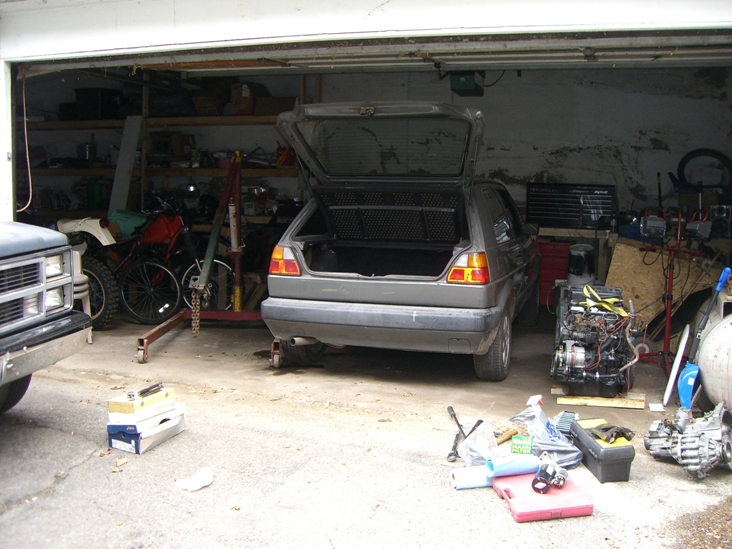
Back at my friends house ready to get the job done.

Mid air ready to be dropped in.
Adjusting the cars position to accept the engine.
With the engine fully mounted.
There are three mounting points for the engine/transmission combination. The transmission cannot be mated to the engine inside the vehicle. There just isn't the amount of space required. It must be done outside. This means if the transmission requires and work, the engine must be removed.
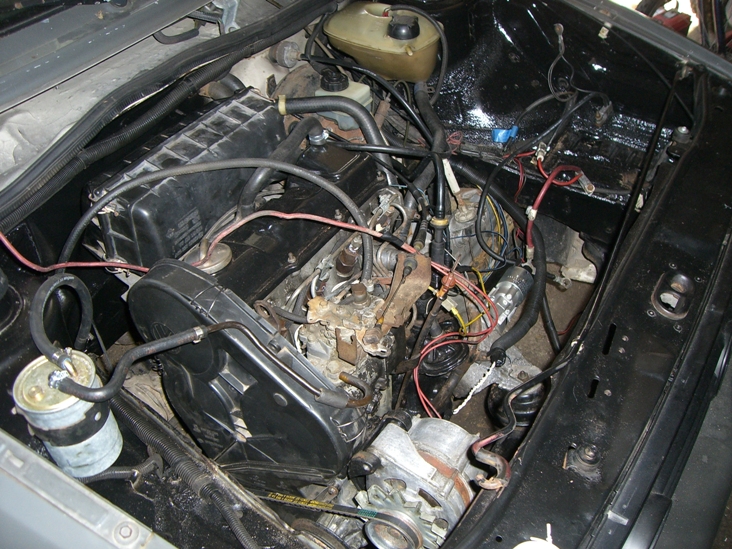
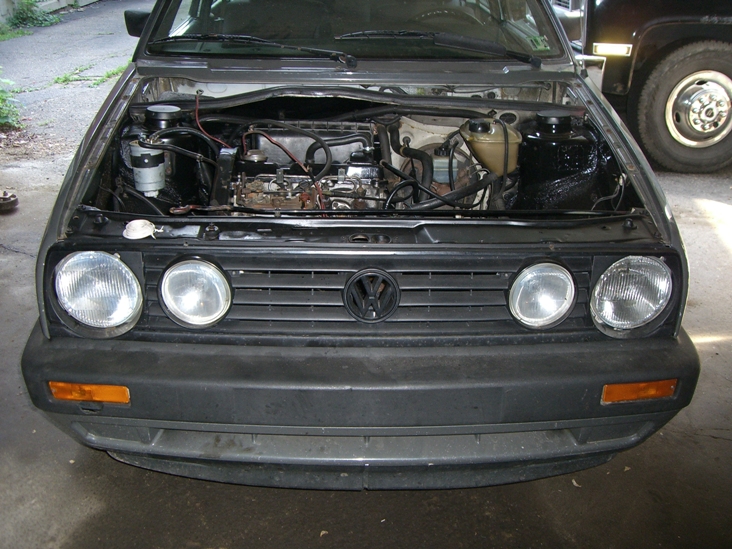
A larger shot of the engine bay.
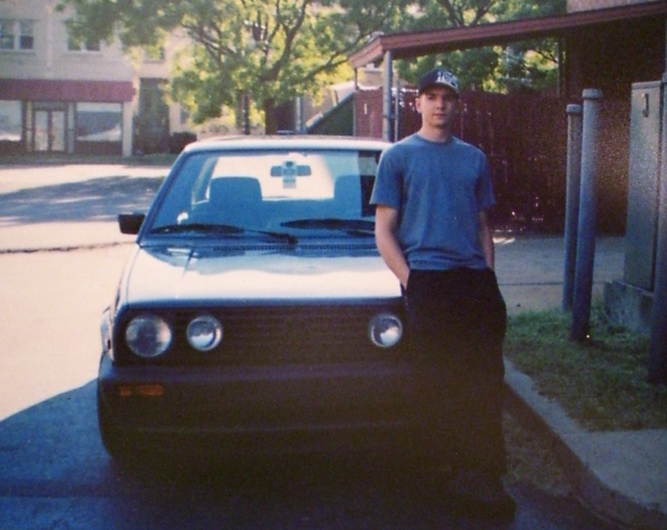
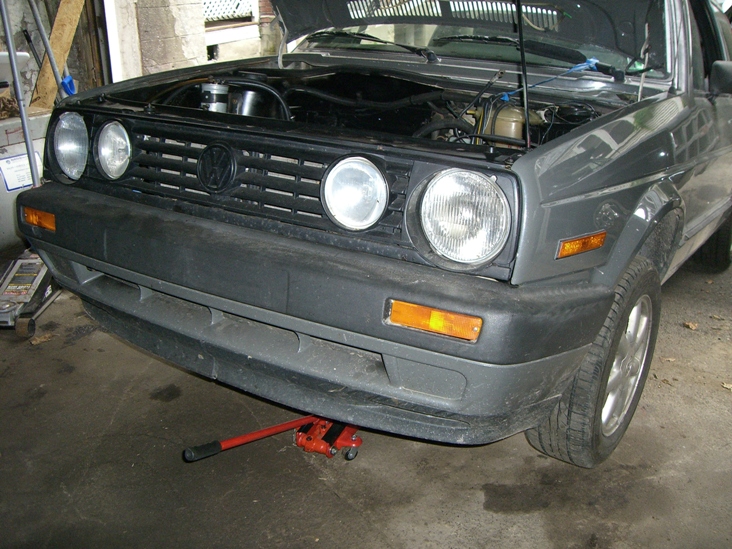
She Lives! All in all it was a great project that got me a car that could get about 45mpg on the highway! I put 10k miles on it over the summer. Then in October I sold it to make room for my new truck.